A-LIVE VTuber Studio
A downloadable tool for Windows, macOS, and Linux
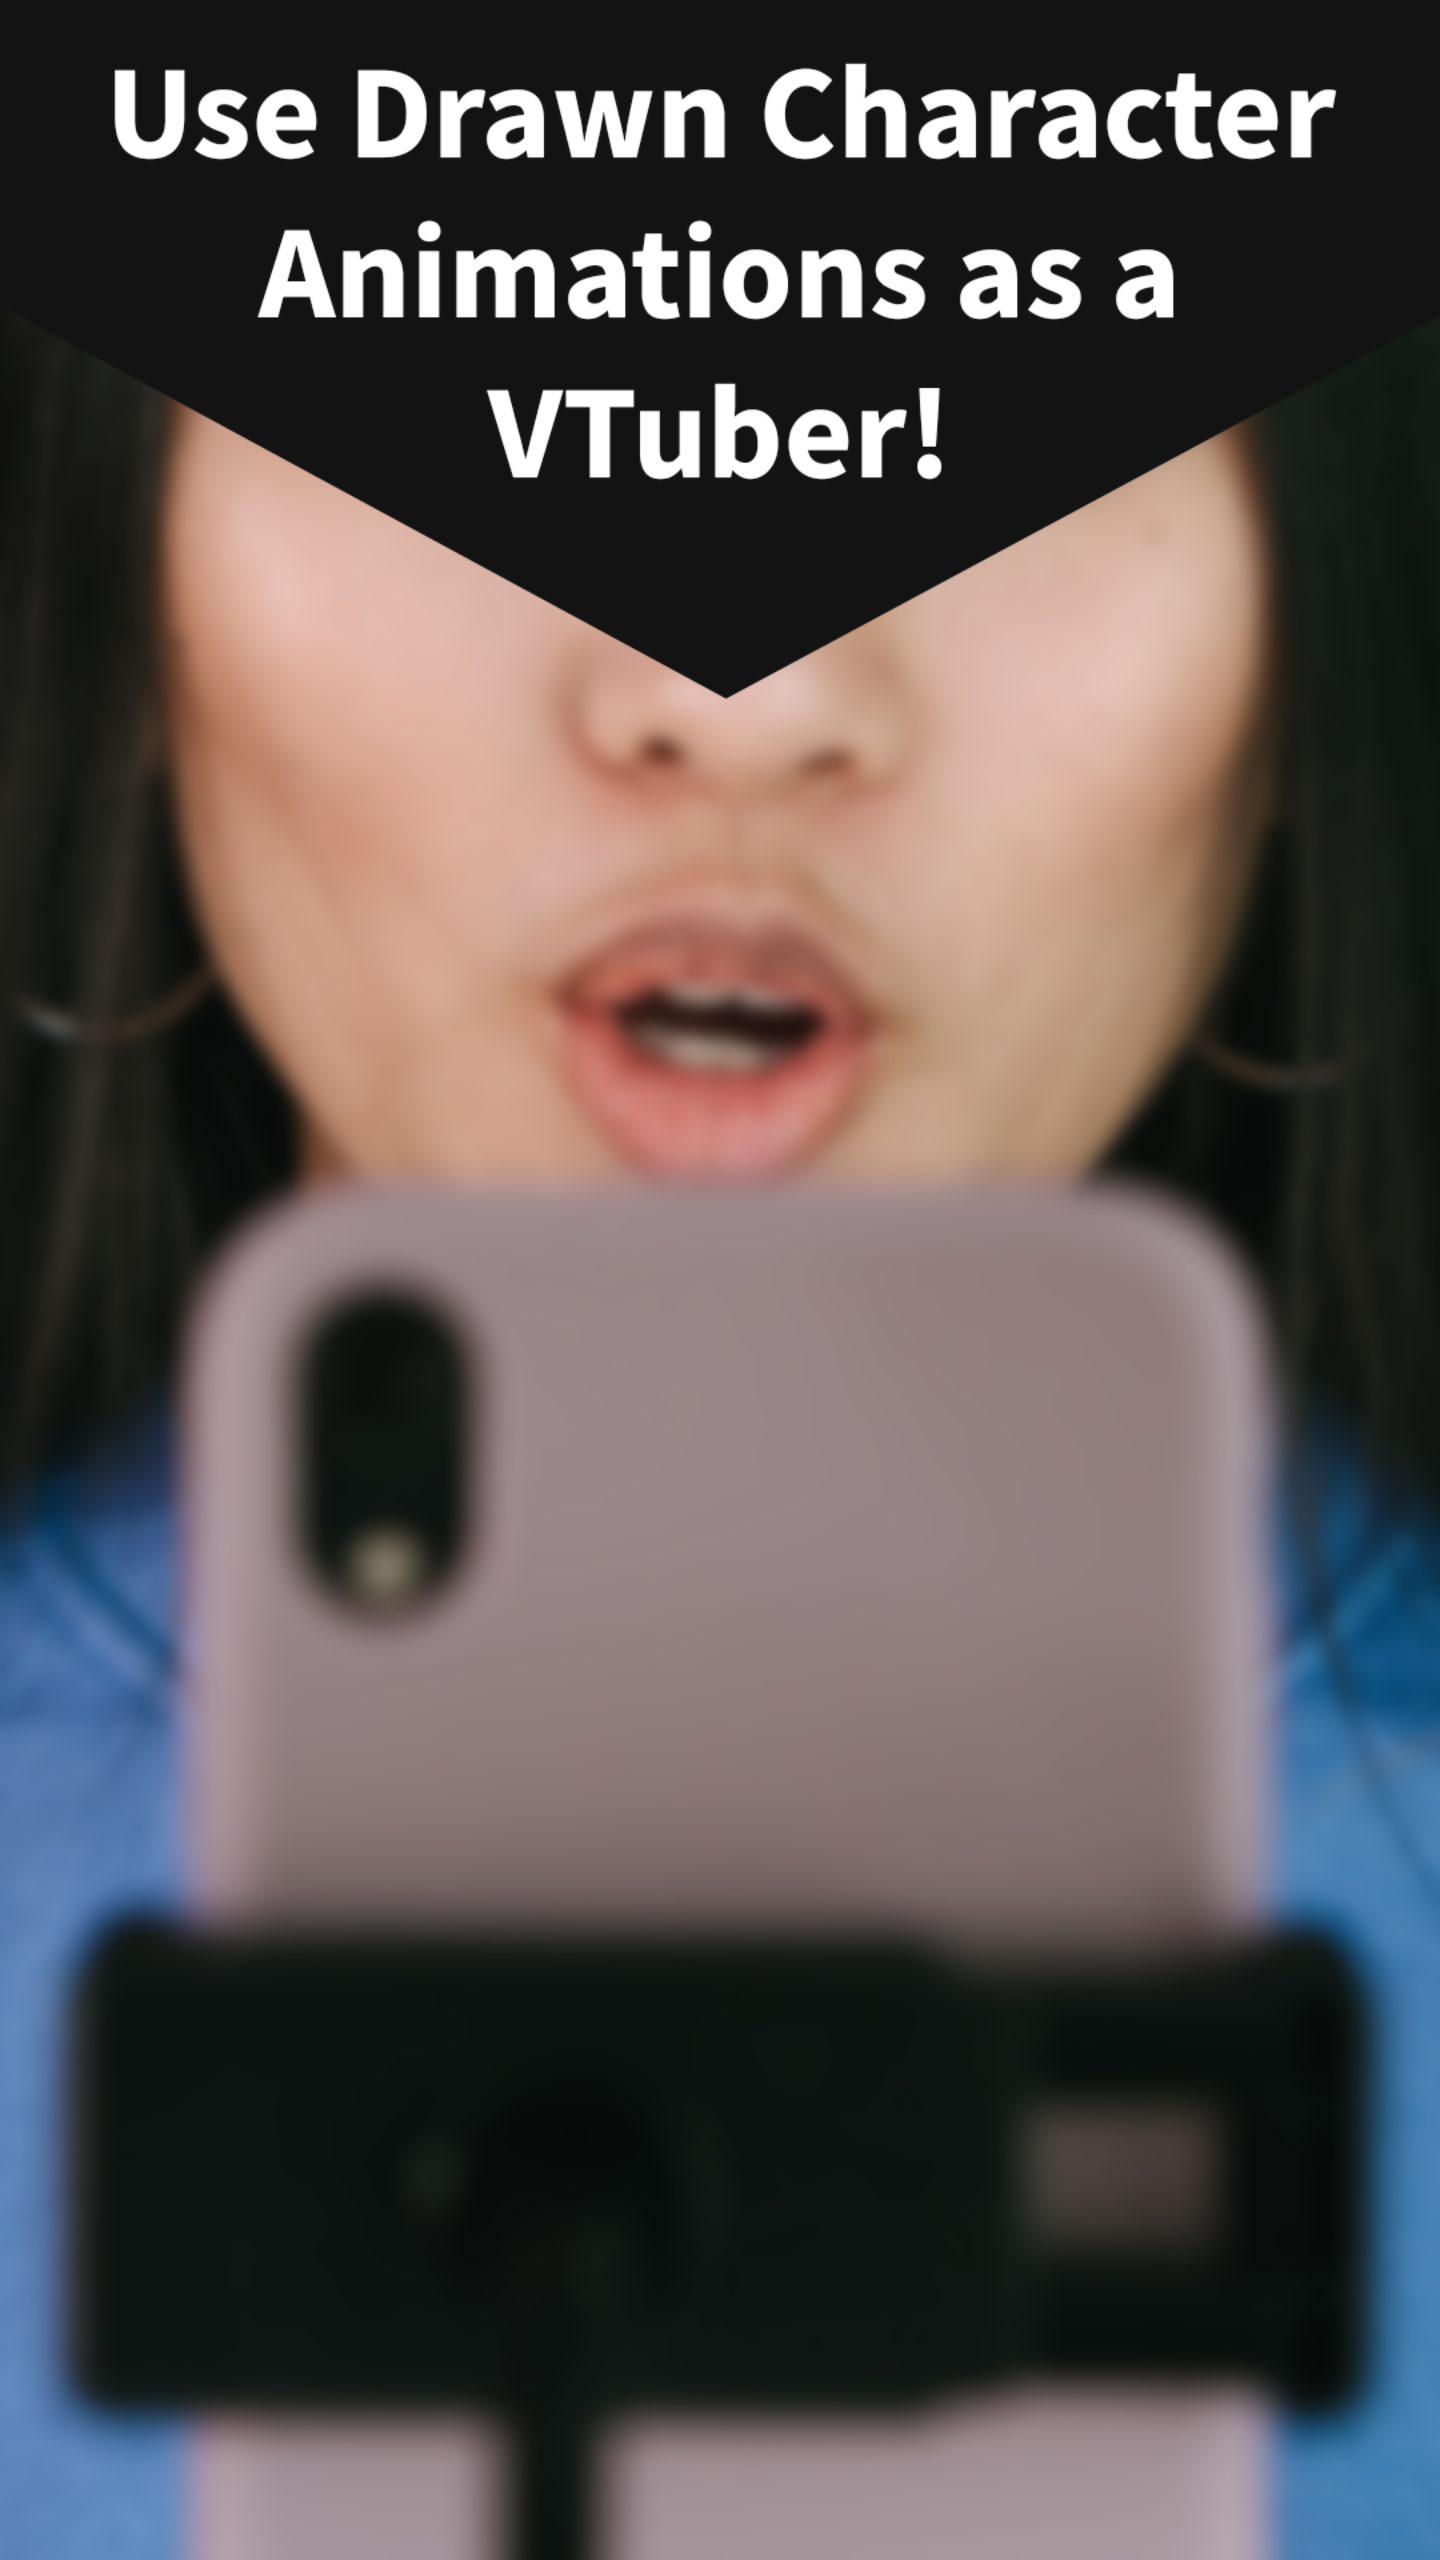
A-LIVE is a software tool in current development where you can turn Drawn Characters into a VTuber Avatar using your Microphone and by triggering its movement using a Phone Camera or Keyboard!
What makes A-LIVE different from the other VTuber Apps?
A-LIVE can use Live Body Tracking to trigger your character's animations or movement using your Phone Camera, and the Character's mouth shapes are changed only using your PC's Microphone, it can be run easily in lower end PCs without the need of expensive Graphics Cards or VR Tracking Gear!


 using A-LIVE: Body Tracker for Android")
About A-LIVE mini-DEMO
This project is in its DEMO phase, both Desktop and Mobile app are currently in development and are for testing purposes only. More Features will be added and will be available in each mini-DEMO release until the FULL DEMO gets completed, but it's important to get them tested in different PC environments so I'd really appreciate your help on this! :3.
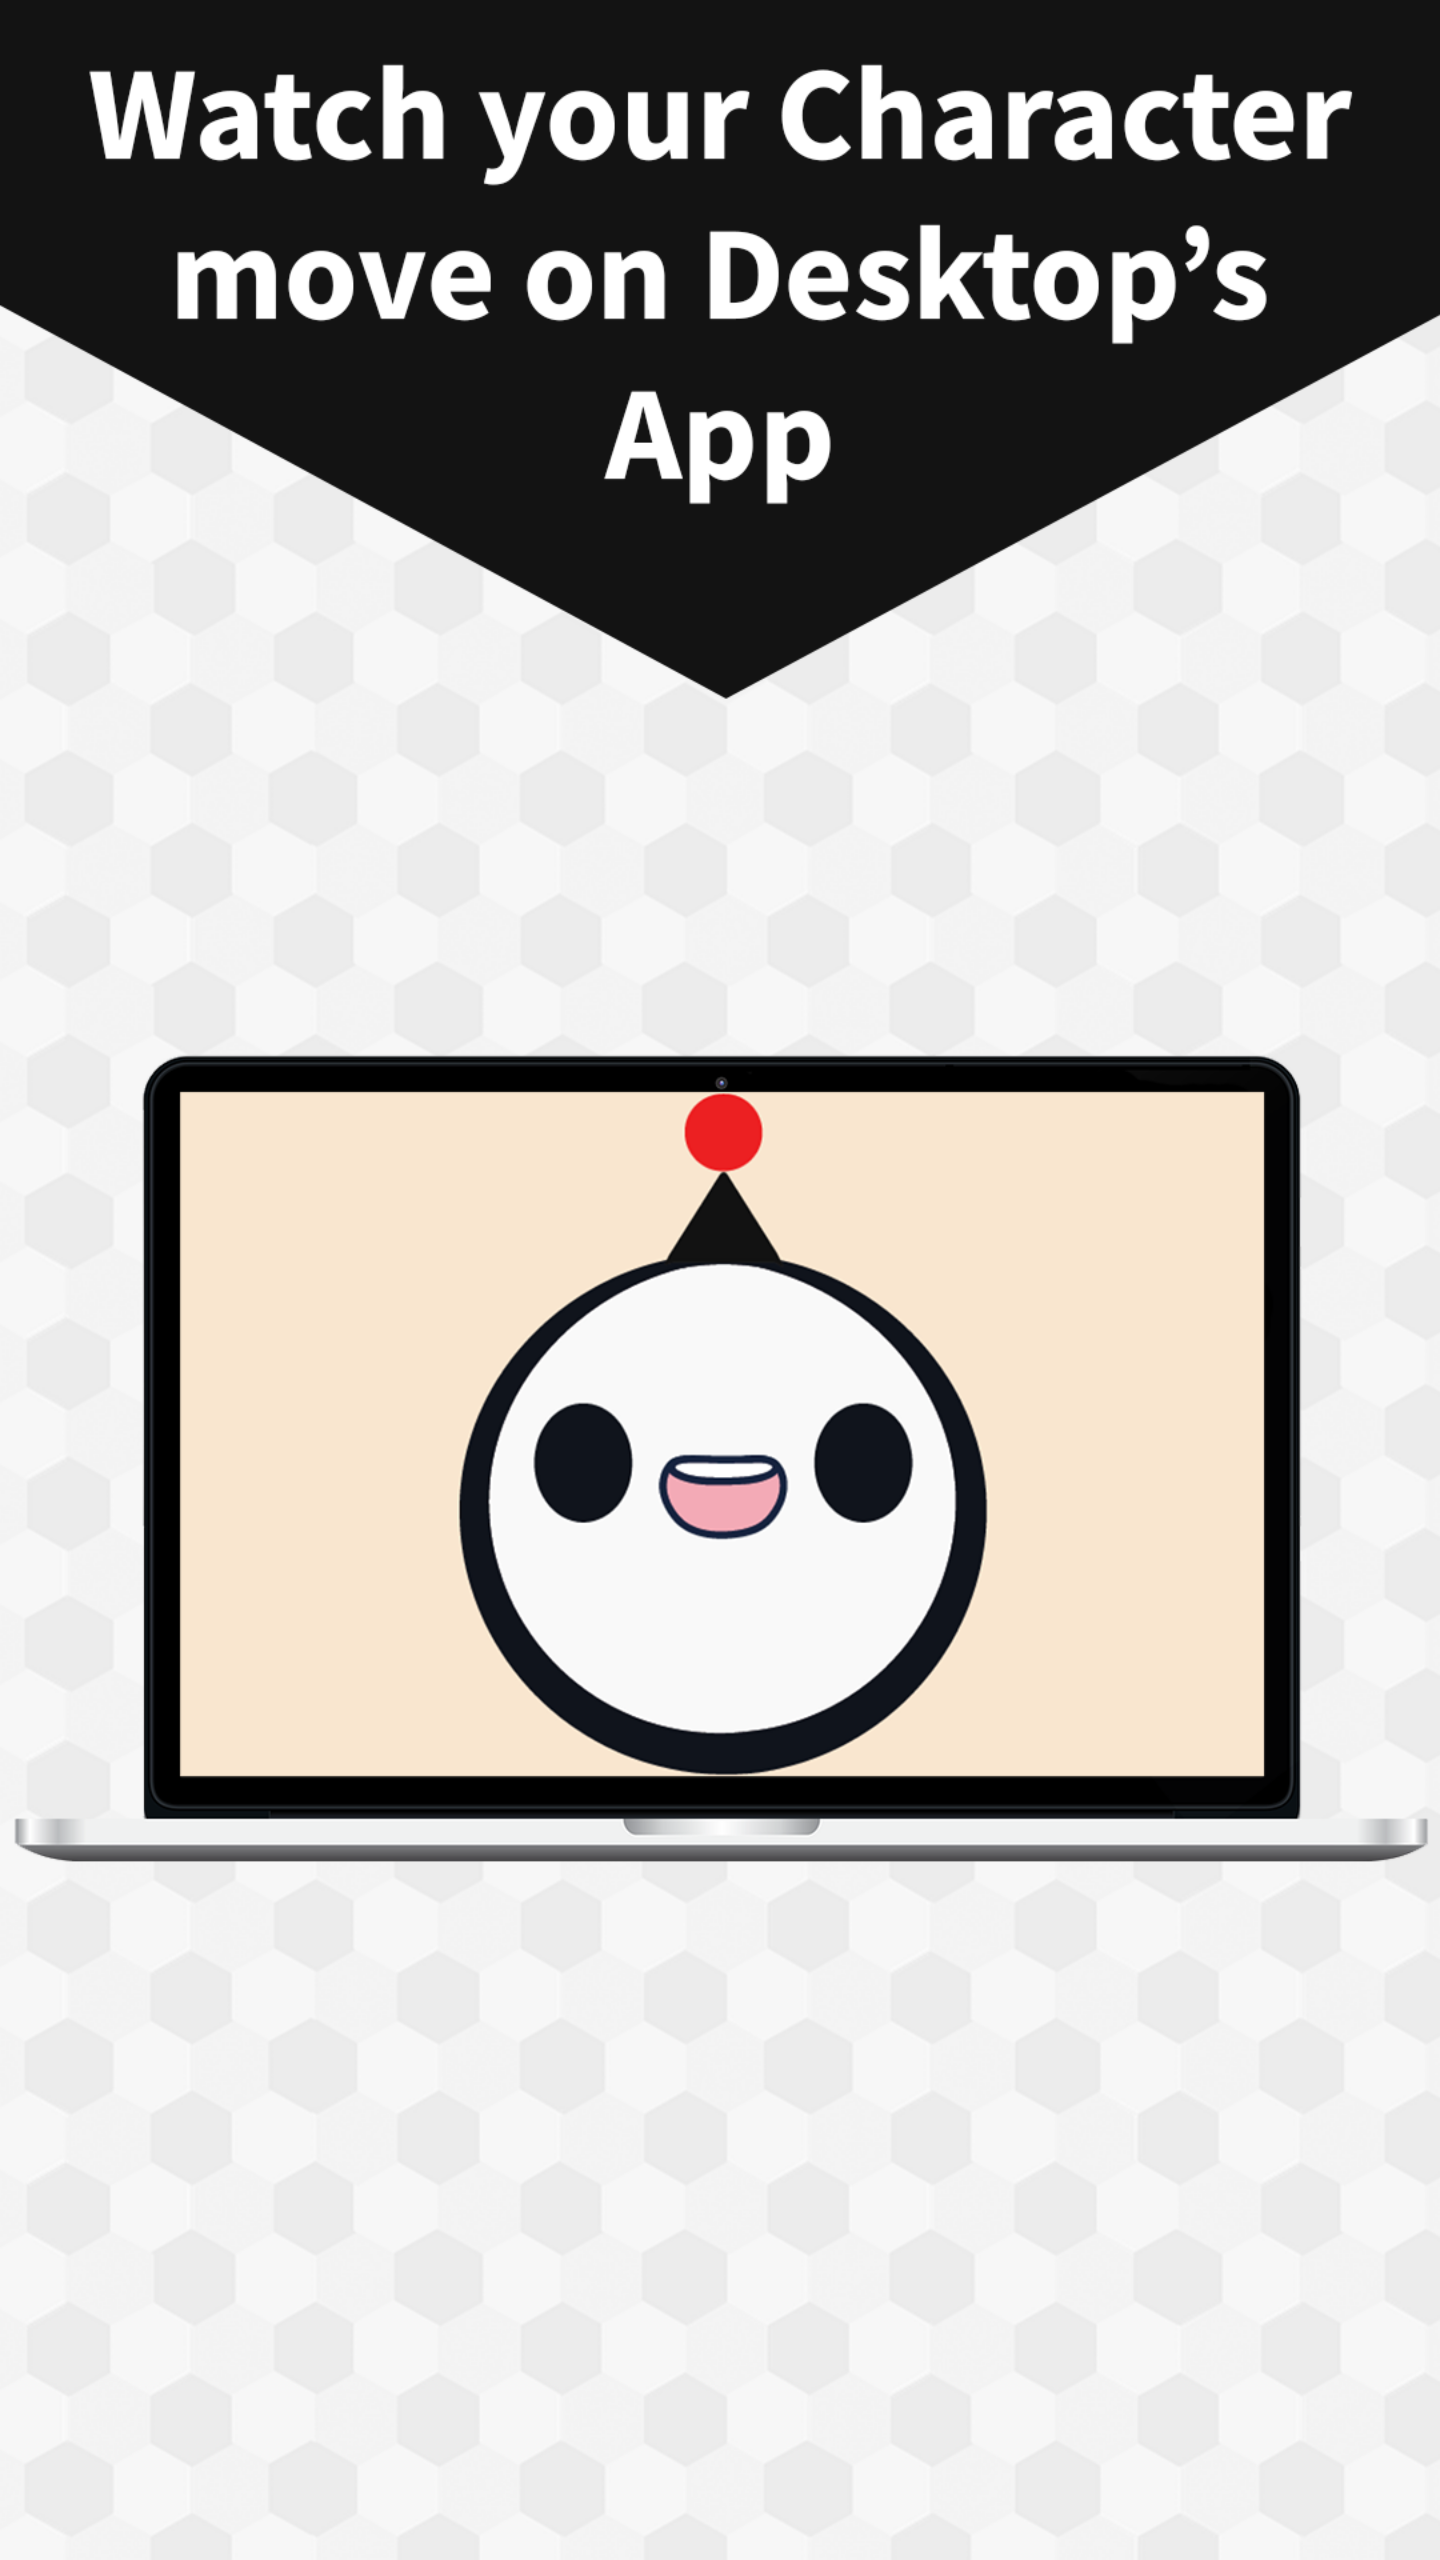
This version has a very simple character by default which has 4 facing direction poses (Left, Up, Right and Center) and mouth shapes for the most basic phonemes (Short Vowel Sounds: A, E, I, O and U).
To Show or Hide the Options Menu use the keyboard shortcut: Ctrl + M. You can Also click on the Top Edge of the Window as an alternative.
To Activate a little Jump animation while Speaking use the keyboard shortcut: Ctrl + J.
There are 2 Menu Buttons available in the Prototype: Quick Setup and General Settings.
In order to start using A-LIVE you just need to Calibrate the system using your voice with the Quick Setup and it will be ready to use. Just Remember to have enable your Microphone and grant Access/Permissions to A-LIVE App to use it within your OS Microphone Settings (Windows and Linux). On the macOS Version you must grant this permission and restart the app in order to work properly (I will look for a way to get around this eventually).
Also, to prevent feedback loop or noises, use Headphones if you want to use a built-in microphone on a laptop. You can also change sensitivity settings such as how often should a Phoneme be Detected (Phoneme Detection Frequency) or the Microphone Sensitivity Threshold to change the point of Input Audio that should be ignored (or considered as Noise) and the one that has to be processed. You can play around with these and set them in the way they work best for you.
There are different Movement Options available:
1. Using Mouse Tracking.
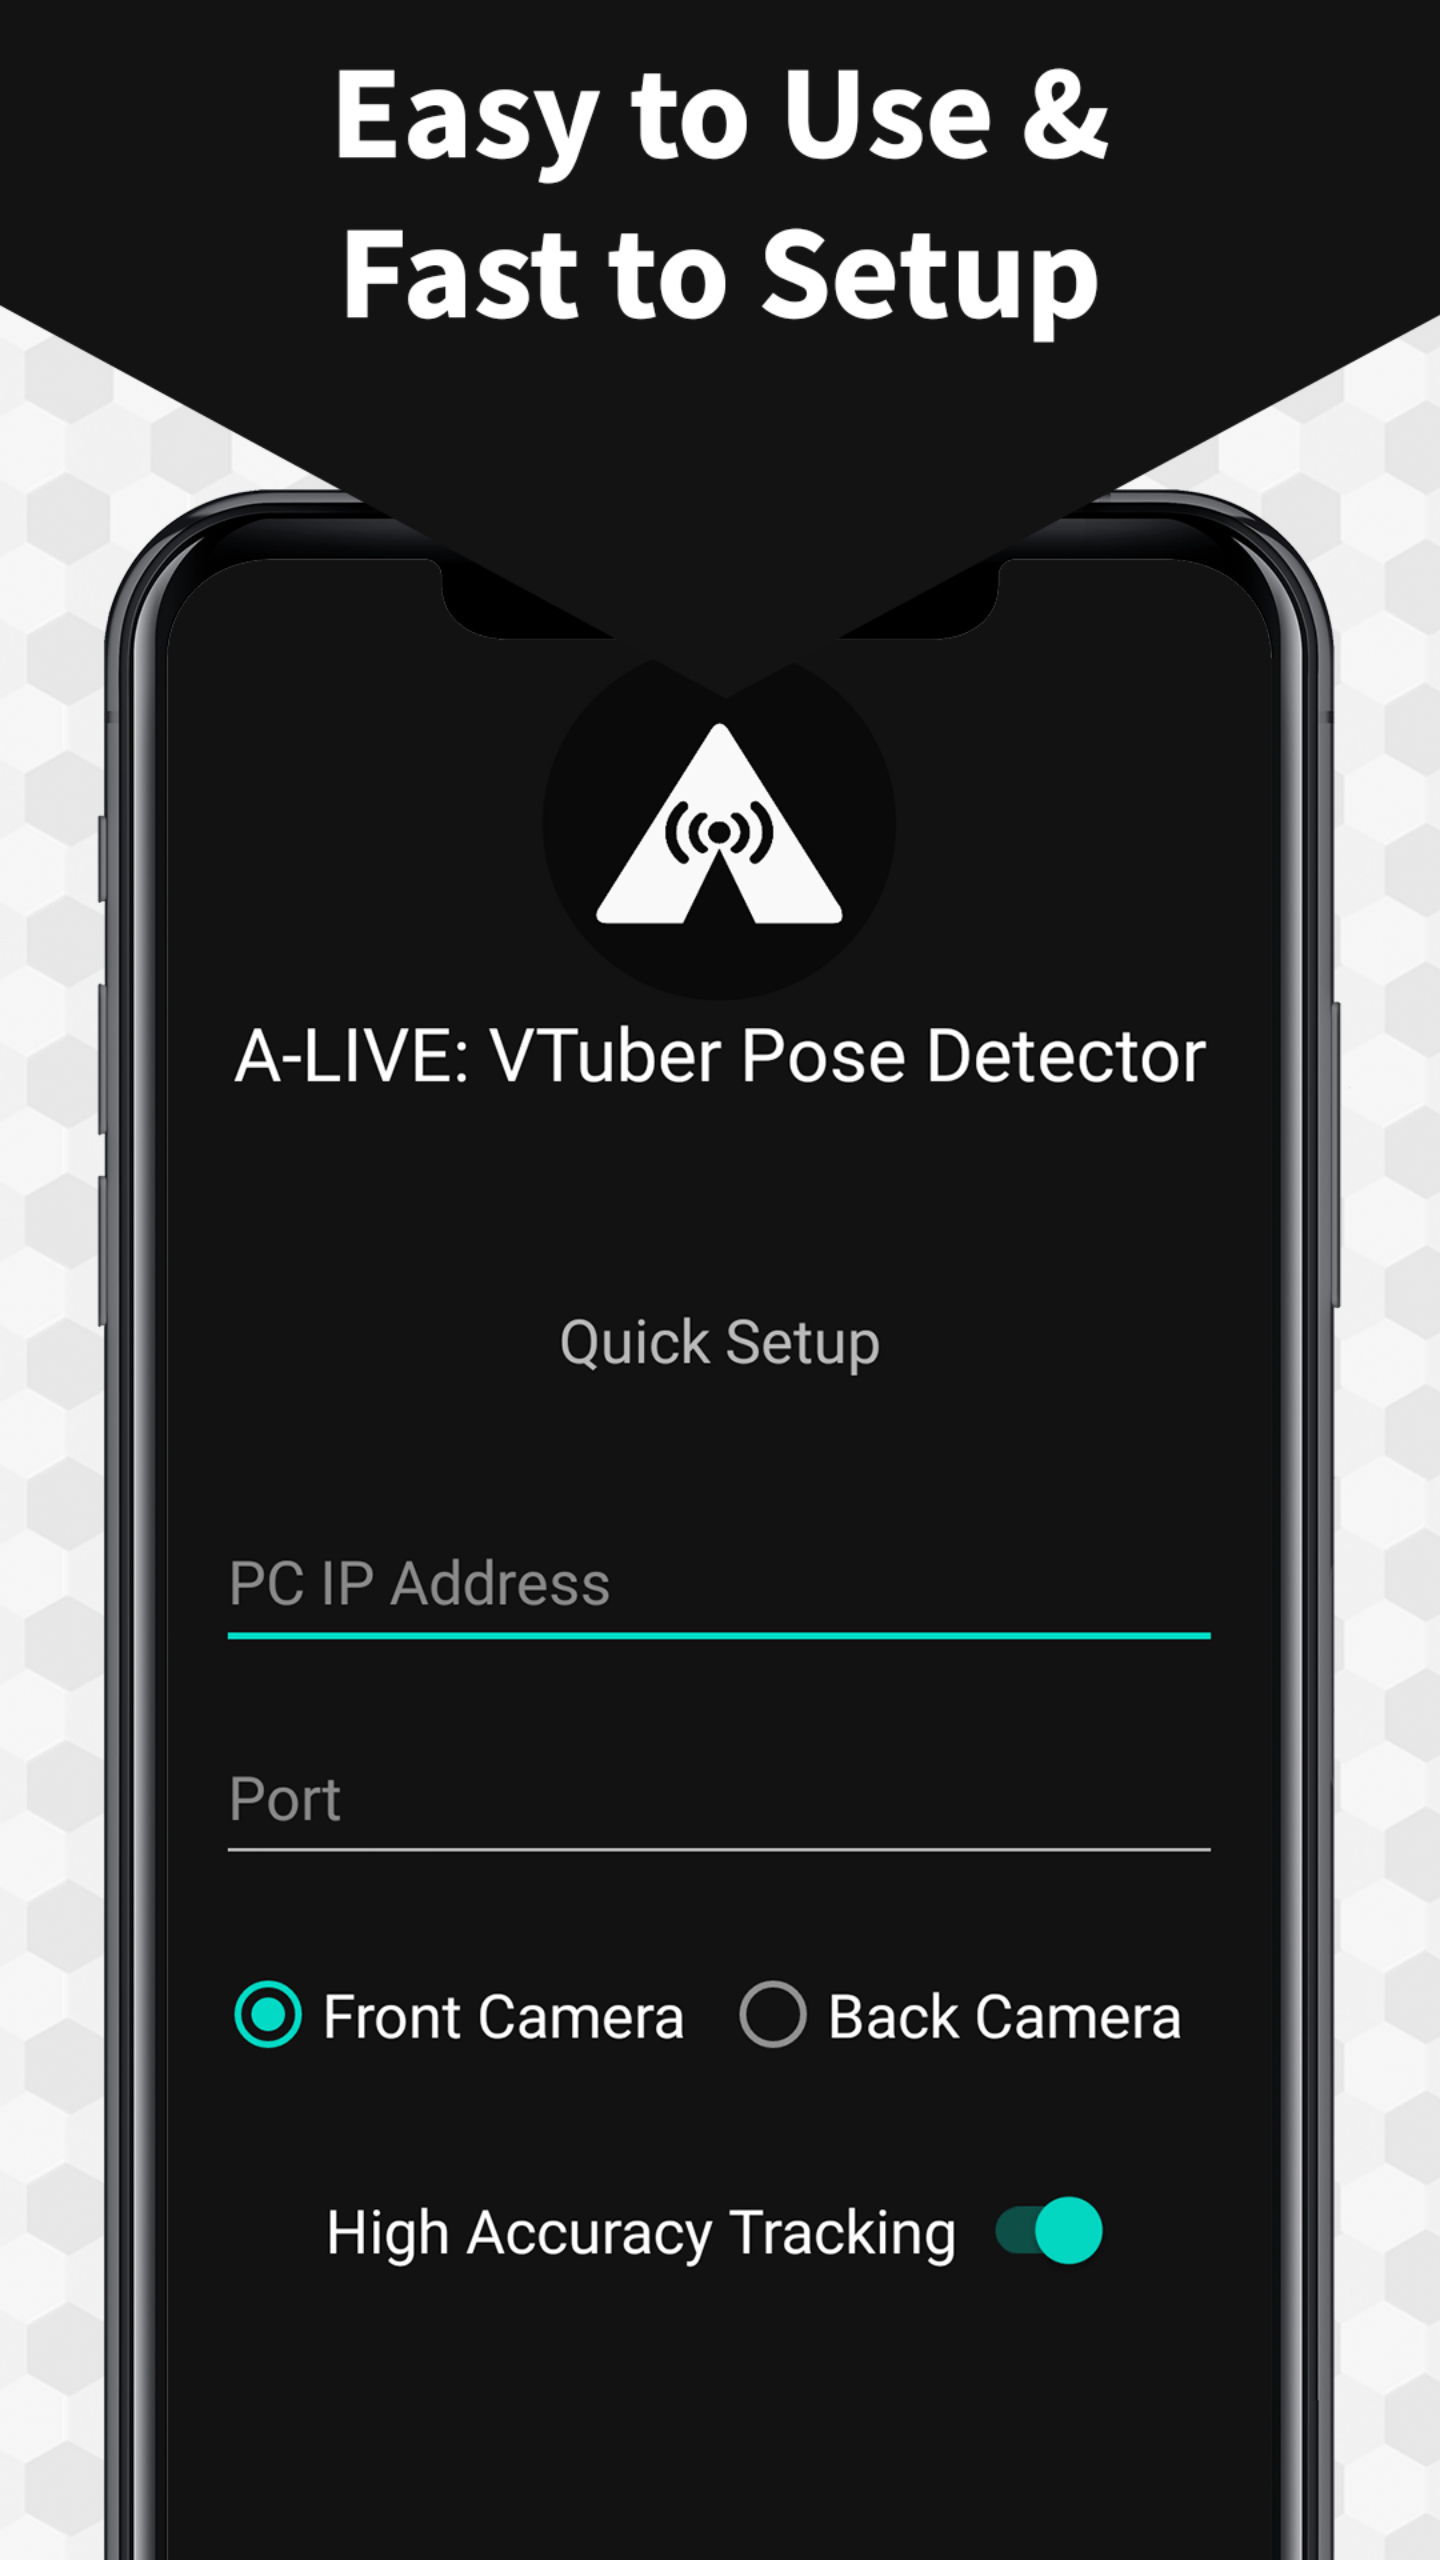
2. Using A-LIVE: VTuber Body Tracker mobile app for Face and Eye Tracking.
3. Using the Keyboard (Pose Tracking):
To move the character with your Keyboard in Windows and Linux , use the following shortcuts:
- Ctrl + Left Arrow = Face Left
- Ctrl + Up Arrow = Face Up
- Ctrl + Right Arrow = Face Right
- Ctrl + Down Arrow = Face Center
In macOS use the following shortcuts:
- Cmd + Ctrl + Left Arrow = Face Left
- Cmd + Ctrl + Up Arrow = Face Up
- Cmd + Ctrl + Right Arrow = Face Right
- Cmd + Ctrl + Down Arrow = Face Center
4. Using A-LIVE: VTuber Body Tracker mobile app to make the character change its pose to face a different direction (Pose Tracking).
A-LIVE: VTuber Body Tracker is in current development too. Alongside with A-LIVE VTuber Studio mini-DEMO, the Mobile App can perform Face & Eye Tracking and reflect it into the character; It can also detect your Facing Direction to trigger Posing Animations (In this case the Image Frames only show the character's Facing direction). In order to use this option A-LIVE needs access to a Wi-Fi Port, so you need to allow add this permission from your Firewall (you'll be prompted when the app runs for the first time, or you can check the Firewall Settings or Inbound Rules to allow this permission) since this is used to send the Live Body Tracking Data from your Phone to the Desktop App. Also, the app needs permission to use your Phone's Camera in order to perform Body Tracking.
To setup Body Tracking Functionality, follow these steps:
- Make sure your PC and Phone are connected to the same Wi-Fi network (through the same Modem/Router).
- In A-LIVE Desktop App, open the Options Menu (Ctrl + M) and click on the "Settings" Button.
- In the "Network Settings" Section, click the "Auto Set" Button and copy the displayed values into the Mobile App and tap the "Start" Button.
- That's it! Your Phone can now detect your Body's Poses to send them to A-LIVE's Desktop App.
Since I'm currently developing this tool, it would be of great help if you submit any Bugs you happen to experience, and also if you spread the word about this tool to get more feedback. This makes it easier to develop improvements to the system and catch bugs faster!
Don't forget to Follow to keep track of the updates and all the features that will be available in upcoming releases!
additionally, if you happen to use these apps on social media, it would also be of great help if you'd use the following hashtags:
#ALIVEvtuberstudio #itsALIVE
Thanks to @hecomi who made this project possible, and to you reader for all your Support! :3
- CHC Studio
Website: https://chcstudio.dev/
Terms and Conditions: https://chcstudio.dev/terms-and-conditions/
Privacy Policy: https://chcstudio.dev/privacy-policy/
Minimum System Requirements
Windows: Win 7(SP1+)+, 64-bit versions only and at least 4 GB RAM.
Linux: Ubuntu 18.04+ and at least 4 GB RAM
macOS: Catalina (10.13.6)+ and at least 4 GB RAM (Important Note: Not working on Sonoma 14.2+ due to a OSX Bug)
Android: Android 7.0 (Nougat)+ with at least 2 GB of RAM and a 4 MP Camera aprox.
Download
Install instructions
Windows & Linux: Just extract the contents from the .zip to your desired destination folder and run the "Alive - 2D VTuber Studio (Prototype)" file.
macOS: extract the app from the .dmg to your desired destination folder; to run the app you need to use Ctrl-click -> Open (on Catalina 10.15.7 this needs to be done twice for the system to show the "Open" option on the dialog message, probably will be the same for newer macOS versions).
Also available on

Development log
- OSX Sonoma's Bug Fix is Now Available!9 days ago
- OSX Sonoma bug affecting A-LIVE and other Unity-Based Apps/Games89 days ago
- New App Versions of A-LIVE Project are now Available!Jun 21, 2023
- First Mini Demo coming up by next week!Jun 15, 2023
- Moving on to the Next Phase of A-LIVE Project!May 24, 2023
- A-LIVE macOS support is now available! :3May 19, 2023
- Prototype update and new version coming up!May 14, 2023